Something I knew I wanted when moving house was a jewellery cabinet. While I don’t always wear it, I do have a fair amount of jewellery and I wanted somewhere where I could display it and see my whole collection – and hopefully inspire me to wear more of it! I’d seen really cool cabinets on the likes of Pinterest and Etsy for years and I really wanted one of my own.
The trouble was that most of the ones I found online were at least £100+, and while I’m a big advocate of buying things on Etsy, this was just a bit too far outside of my price range. I had been looking for a second-hand cabinet to buy and transform into my jewellery cabinet, but unfortunately, with COVID causing charity shops to close, I was unable to find the right thing.
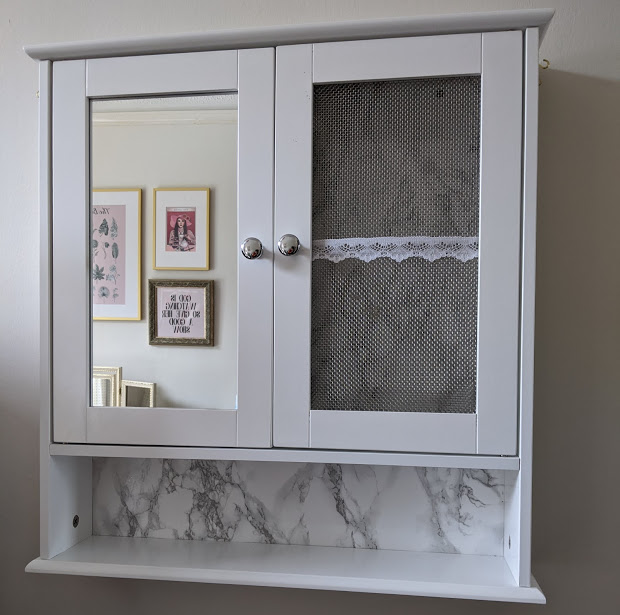
Luckily, a silver lining came when a bathroom cabinet I had ordered came broken. During delivery, one of the mirrored doors had smashed and we were sent a full replacement. They didn’t want the broken cabinet back, so I decided to seize this chance and upcycle the cabinet into jewellery storage.
For this, I needed:
- Cabinet
- Mesh panel
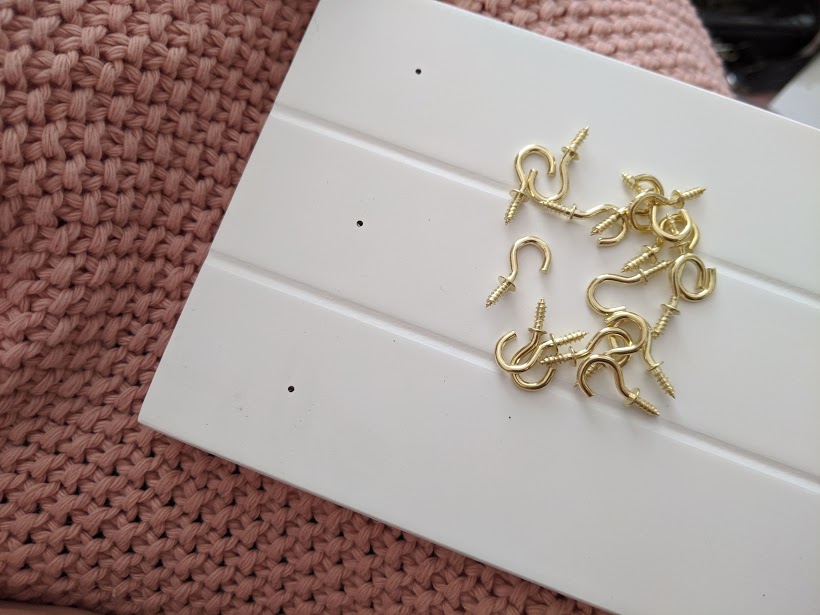
- Screw in hooks
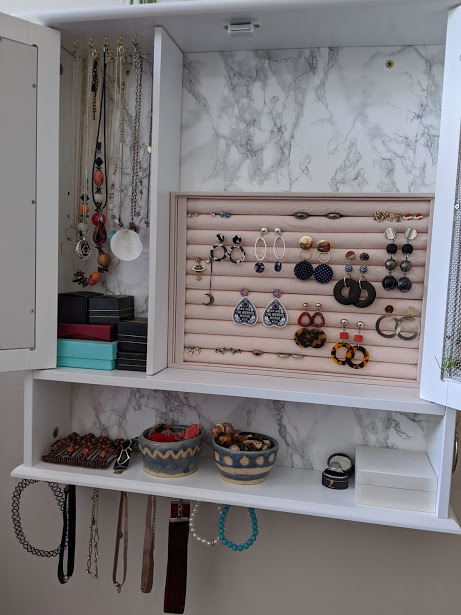
- Ring holder
- Marble backing paper
- Tools
I was able to get most of the materials fairly inexpensively online.
Creating the Jewellery Cabinet
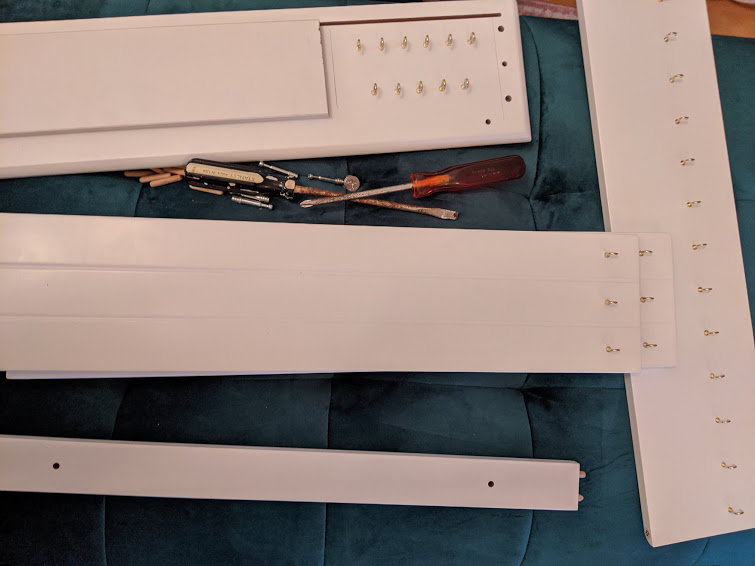
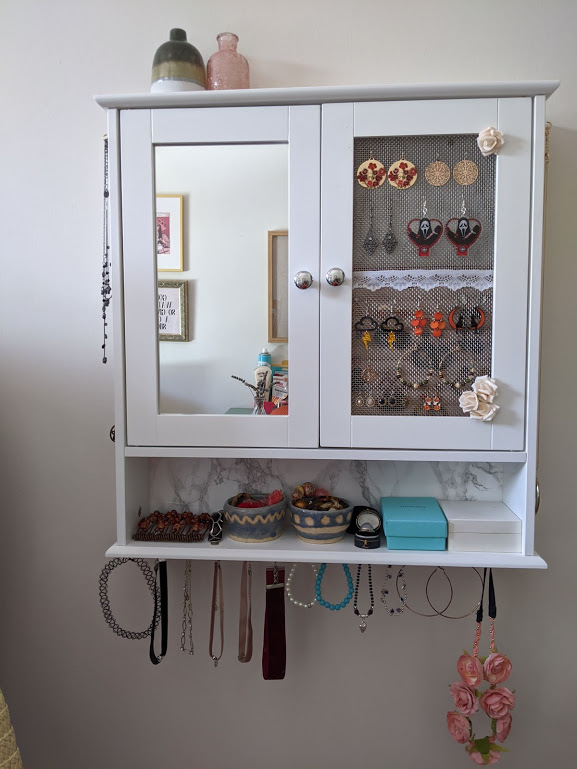
I started by planning out where I wanted all of the hooks to go. These hooks were to be attached inside the cabinet, at the bottom of the cabinet and on the sides of the cabinet for all my necklaces and bracelets. I needed ones on the side to accommodate the longer necklaces that wouldn’t fit within the cabinets.
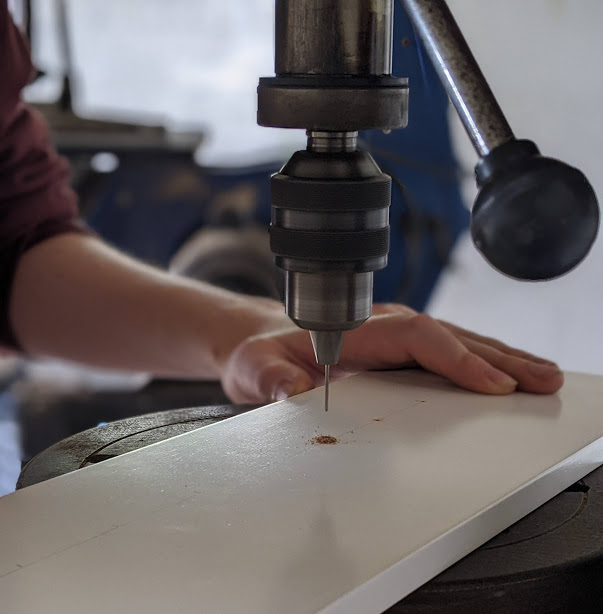
Drilling Holes
To make the hooks go in easier and in the exact right position, we made some guide holes in the wood first on the pillar drill. If you want to make something similar yourself, it’s easy enough to screw the hooks in without drilling holes first, but as we have a “workshop” it made sense to make use of our tools to make it a bit easier.
Adding Hooks
I then added all of the hooks in where I needed them.
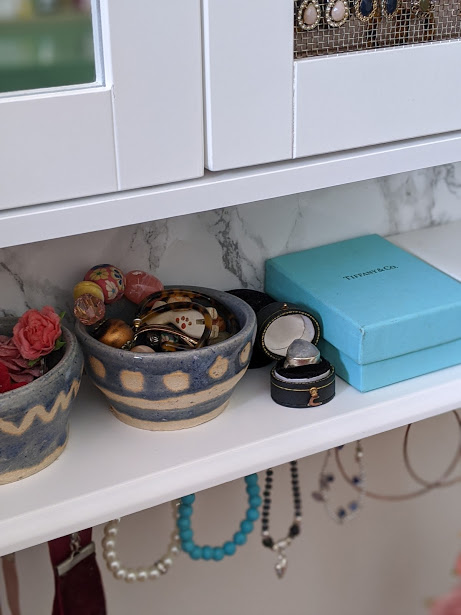
I wanted the cabinet to not just be plain white, so I added some detailing to the inside of the cabinet by applying a marble sticker to the back. The original cabinet had a shelf within, which I didn’t need, but was able to trim down to create a divide within the cabinet to separate the necklaces and earrings sections. I was able to add this in after assembling the cabinet.
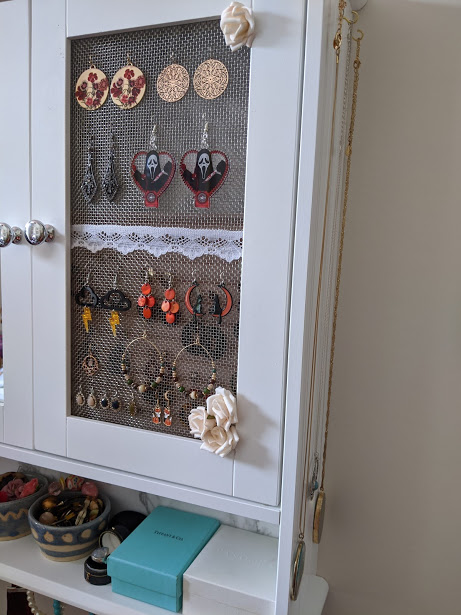
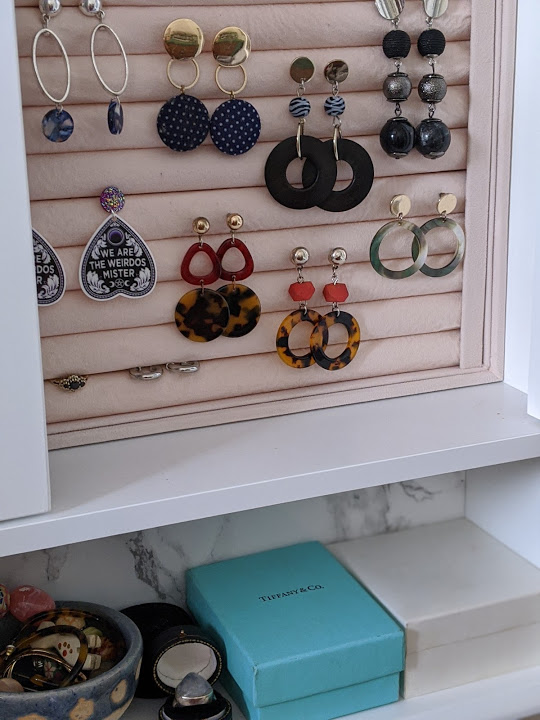
The next big thing to do was to make the earring holder within the door. I had to really carefully remove all the broken mirror shards and remove the back panel of the door so that it was just the white frame remaining. Then, I used a sheet of metal mesh and nailed it in place to hang my earrings from.
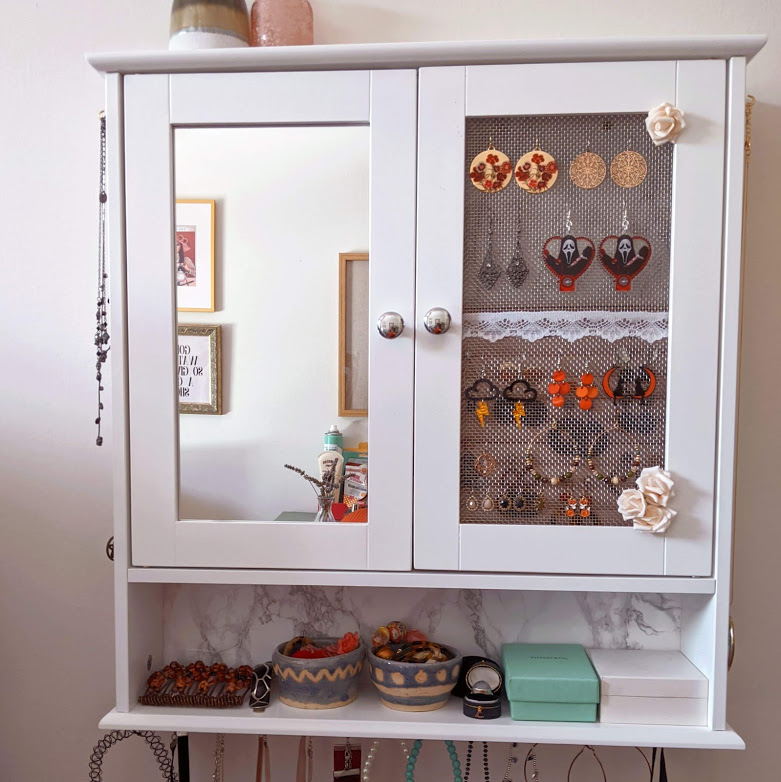
Adding my Jewellery
I was then able to mount the cabinet on the wall and add all my jewellery inside. I’m going to add some push pins into the top part of the marble backing above the pink ring holder next, so that I can hang things like bracelets, hoop earrings and hairbands inside too.
So, what do you think?! How do you store your jewellery? Leave me a comment below to let me know! To see updates on more of my house decorating, then please check out my Instagram!